Description
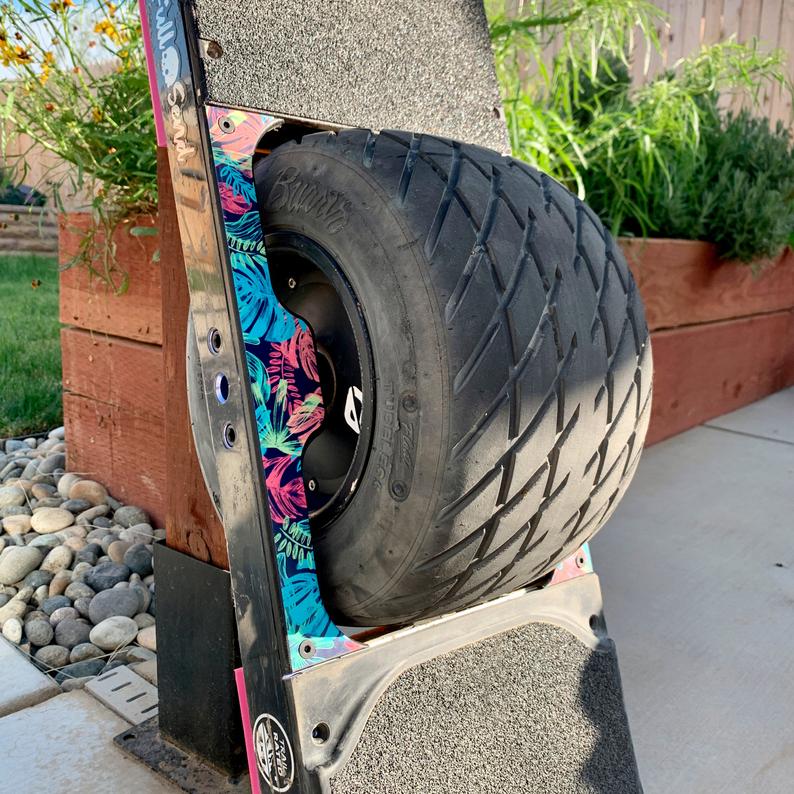
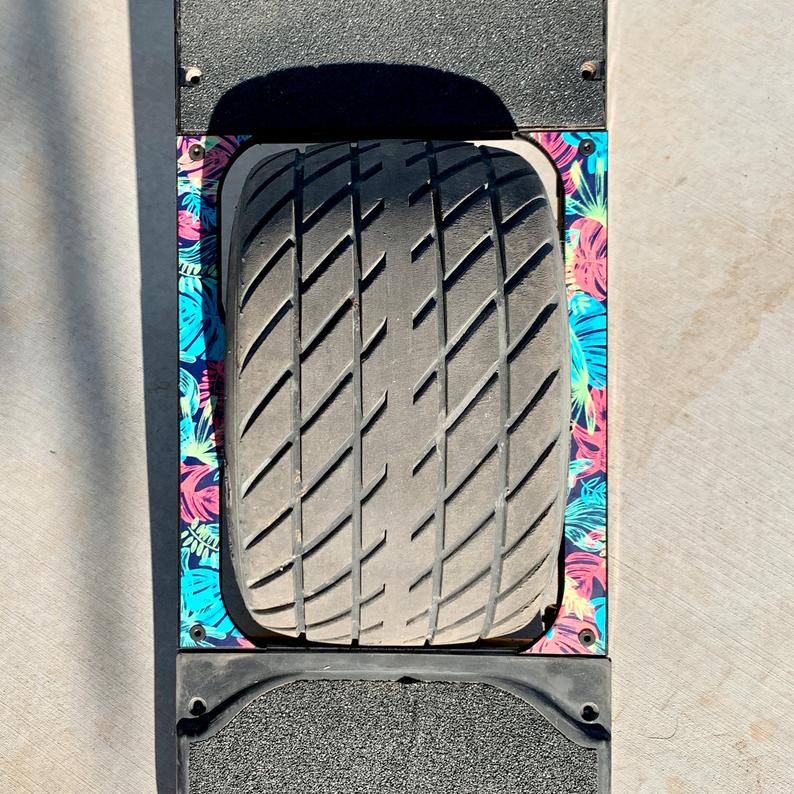
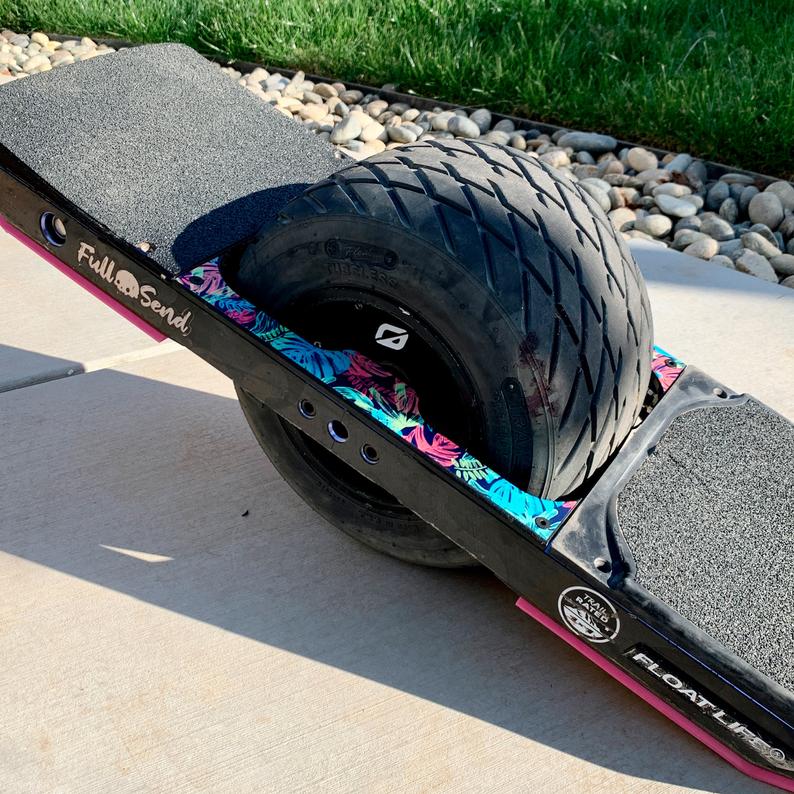
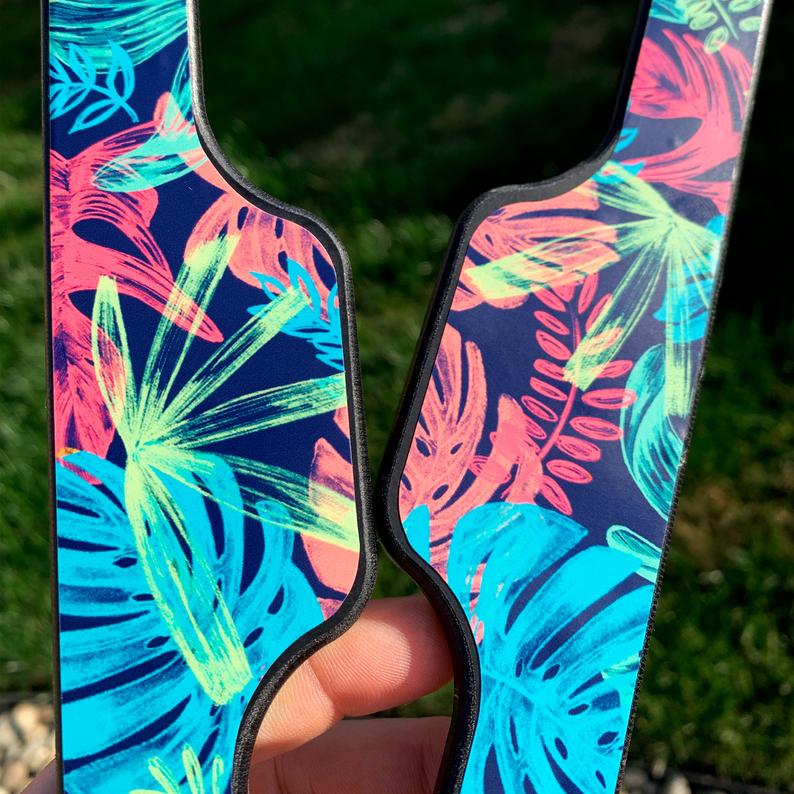
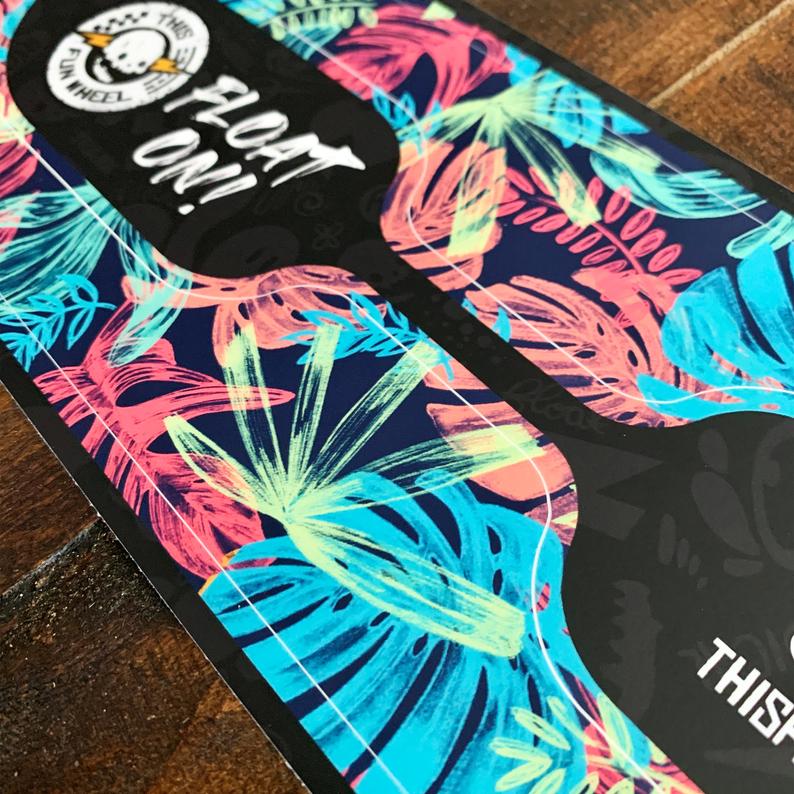
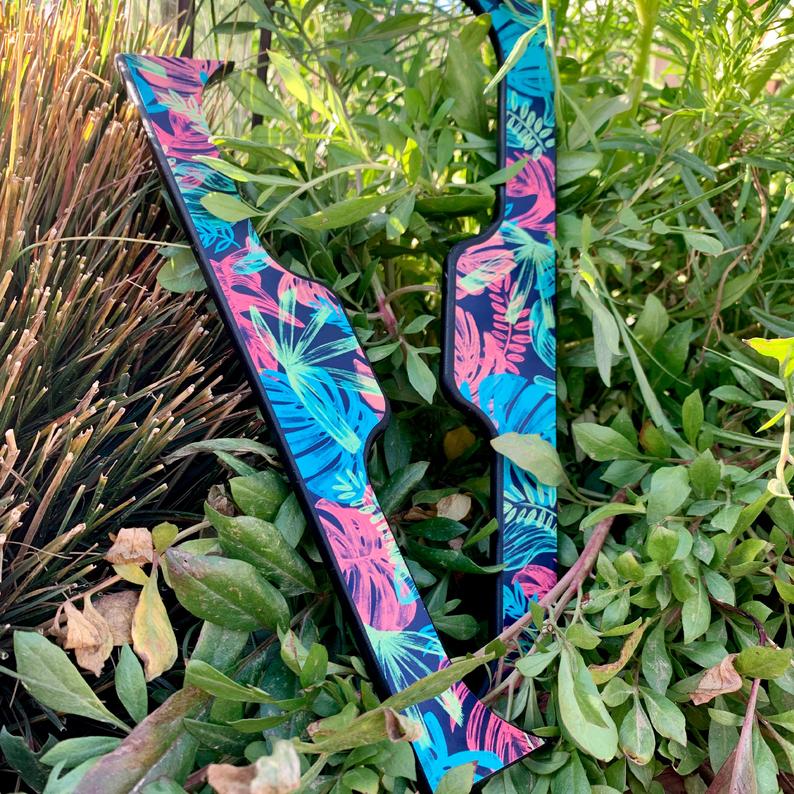
This is the second Fender Delete Decal design created specifically for the Float Fender Delete by The Float Life. This is a high-quality vinyl sticker cut to the dimensions of The Float Life’s Float Fender Delete for the Onewheel V1/Plus/XR+ models. The sticker is in a kiss-cut backing making it easy to peel off each piece and adhere to the fender deletes. The stickers are made of the same material as our other stickers; thick, durable and weather-resistant.
Important notes:
– Before purchasing, read the instructions below to ensure you are comfortable with the steps required for this prototype!
– This product includes only the sticker, NOT the fender delete product. Purchase the Fender Delete here: https://thefloatlife.com/products/float-fender-delete
– This is a prototype product, meaning it is the first run of it’s kind made by anyone. As the design is refined, you may find that the sticker is not absolutely perfectly matching the shape of the fender delete.
– You can easily trim excess material using a razor blade.
– Extensive damage to the fender delete product may reduce the longevity of the sticker due to the surface area and adhesive being compromised.
Installation & adjustment instructions:
– Remove the fender deletes from your Onewheel if needed, clean thoroughly with soapy water or use an alcohol wipe then dry thoroughly.
– Peel off one sticker piece and hold it with both hands carefully over the fender delete.
– We recommend first adhering the center crested areas (the part in the center of the delete pointing towards the wheel) by matching the corners with the sticker, then slowly laying down the sticker from the center outwards towards the ends.
– While applying, do not firmly adhere the sticker until you are certain of the placement, you can pull the sticker off and restart if it has not been securely placed yet.
– If there is extra material hanging off any edges, we recommend carefully using a razor blade to cut the extra material off after it’s been applied and is securely adhered.
– Place the finished fender deletes on your Onewheel as you normally would, you will notice that the screw holes are not cut – This is intentional.
– Press with your finger at the spot where the screw hole is to locate it to identify the edges of it.
– Use a razor blade or a pointed knife to cut an X shape in the center of the screw hole location, it can be as large as the edges of the hole.
– Press the fender delete screw through the cut X and begin threading it into the Onewheel gently so as to not pull at the sticker material too abruptly.
– The screw should fully thread in without any issue, tucking the extra sticker material under the head of it.
– As an alternate method of cutting the screw hole described above, you can use a sharp blade to cut into the screw hole at a 45 degree angle in a circle following the edge of the interior of the fender delete. This will provide a cleaner opening to the screw head, but may be difficult for some. An X-Acto knife or equivalent is recommended.
Included with your order:
– One TFW Fender Delete Decal at 12″ x 4.75″ (Neon Jungle design)



Reviews
There are no reviews yet.